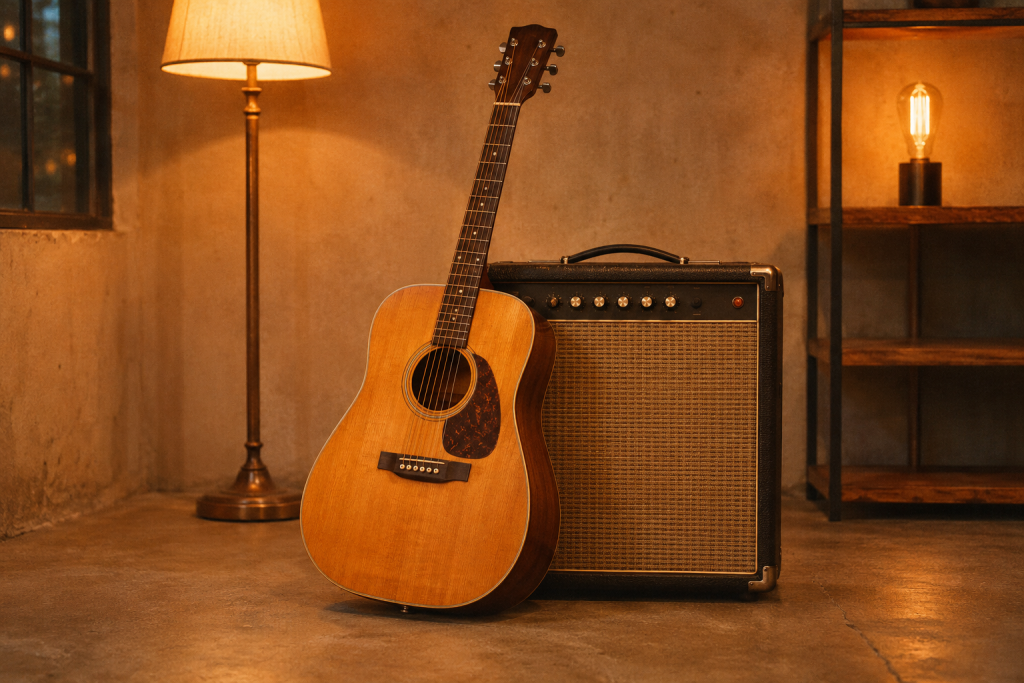
Twelve inches out from the twelfth fret, pointing slightly toward the soundhole. That is the position most people try first, and it is the one that sends them back to the internet looking for answers. The low end blooms, the pick noise disappears, and the whole thing sounds like a guitar recorded through a duvet. I have made that mistake on more sessions than I care to admit.
What follows are the three positions I actually reach for now, in the order I try them. None of them require an expensive microphone. What they require is patience and a willingness to move the stand two inches and listen again.
Why position beats microphone choice
There is a school of thought that says the mic is the single most important piece of gear in the chain, full stop. I mostly agree, and the argument that a good mic paired with a cheap interface will beat a cheap mic paired with a good interface is one I have heard play out in real rooms. But that logic is about which microphone you own, not where you point it.
An acoustic guitar is a complicated radiator. The top moves as a plate, the air inside the body resonates, and the strings themselves add a bright transient that arrives at the mic almost instantly. Move the capsule a few centimetres and you change the balance between those three things more than swapping from one condenser to another ever will. So before you buy anything, spend an afternoon moving what you already have.
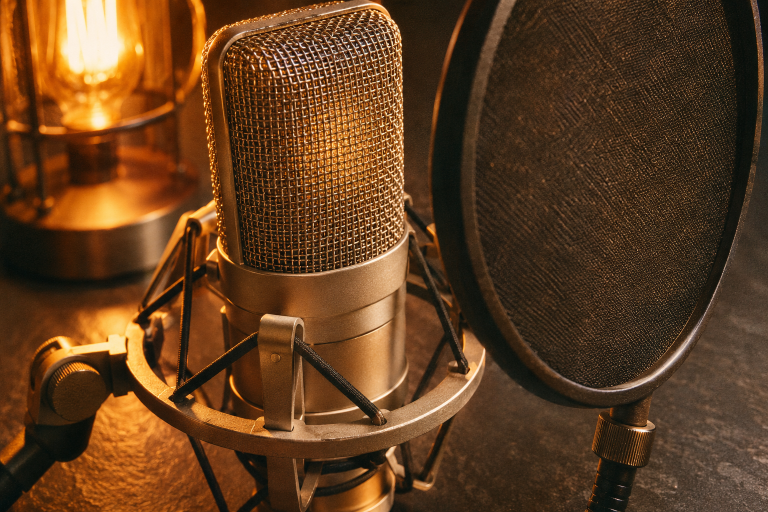
One practical note from the vocal world that transfers directly: a condenser wants a treated space, a dynamic tolerates an untreated one. In a bedroom with bare walls, a tight-pattern dynamic will reject more of the room, and a clean capture you can actually place beats extra nuance every time. That trade-off shapes which of the positions below will work best for you.
Position one: twelfth fret, angled toward the neck joint
Start here. Place the mic roughly 15 to 20 cm from the guitar, level with the twelfth fret, and angle it slightly toward where the neck meets the body. Not at the soundhole. Never straight at the soundhole.
What this gives you is the most balanced capture of the string and the top together. The boom of the body resonance is off-axis, so it arrives quieter. The pick attack stays present without being brittle. On a dreadnought it can still get heavy in the low mids, and on a small-body guitar it usually sits just right.
If it sounds thin, move the mic half an inch toward the soundhole. If it sounds boxy, move it half an inch toward the headstock. That is the whole adjustment range you need at this position. Small moves, big changes.
When it fails
It fails when the player has a heavy right hand and the mic is too close. You get pick click on every strum and the body disappears underneath it. Pull the mic back to 25 or 30 cm and let the room do a little work. If the room is bad, see position three instead.
Position two: over the right shoulder, aimed down at the top
This is the one that surprises people. Put the mic behind the player’s right shoulder, above head height, angled down toward the upper bout and the player’s picking hand. It is not a close mic and it is not a room mic. It lives in between.
What you hear is the guitar as the player hears it, plus a dose of the room from a direction that is usually less problematic than the wall in front. The low end is controlled because you are not in front of the soundhole at all. The high end is softer. Strummed chords sit together beautifully.
The catch is that it needs a quiet room and a still player. Every chair creak and foot tap lands in the mic. I have also had singers refuse to wear headphones in this setup because the mic is right by their ear, which is fair.
Pairing it with a close mic
On its own this position can sound a little distant for a solo instrument. Blended with a close mic at position one, it fills in the space around the close capture without adding reverb later. Keep the close mic dominant and bring the shoulder mic up underneath it. Watch the phase: flip the polarity on one channel and pick whichever setting gives you more low end when the faders are matched.
Position three: close on the body, off-axis, in a bad room
When the room is working against you, get close and stay off-axis. Place the mic 10 to 15 cm from the lower bout, below the player’s strumming arm, and angle it across the top rather than at it. You are capturing the movement of the top plate and very little else.
This is the position I use in untreated bedrooms and in rooms with a low ceiling. A tight-pattern dynamic helps here for the reason above: it rejects the reflections bouncing back from the wall behind the player. The sound is drier and less flattering in isolation, but it takes EQ and compression without falling apart, and it sits in a busy mix with almost no work.
Do not expect air. This position does not give you air. It gives you a solid, defined guitar that will not fight the vocal, and on a lot of records that is exactly what you want.
How to actually test them
Record the same twenty seconds of playing through each position, in the same session, at the same input gain. Do not solo them and judge. Play them against a rough mix of the song, even a bad one. A guitar that sounds dull on its own often sounds correct in context, and a guitar that sounds rich on its own often turns into mud the moment a bass enters.
Set your peaks conservatively. The vocal guidance of keeping peaks below -6 dB applies just as well here, and it leaves you headroom to blend a second mic without clipping the interface.
Match the levels before you compare. Louder always sounds better, and a position that is 2 dB hotter will win a sighted test every time. Take the ten minutes to level-match. It is the difference between choosing with your ears and choosing with your gain knob.
Take notes. Literally write down the distance and the angle for each take. Two sessions from now you will not remember which file was which, and the one that worked will be buried in a folder called Audio 07.
The thing nobody tells you
Your guitar matters more than any of this. A Taylor with an ES1 system and a Faith with a Shadow pickup do not sound the same through the same microphone, and no placement trick will make one into the other. A bright, plucky instrument can quickly get thin and hard in the high end if you push it, while a darker instrument can lose definition if you angle the mic away from the strings. Position is how you work with the instrument you have, not how you replace it.
So learn these three, then learn your own guitar’s version of them. The twelfth fret is a starting point, not a rule. The distance that works in my room is not the distance that works in yours.
Move the stand. Listen again. That is the whole method.